 |
||||||||||||
|
|
||||||||||||
 |
 |
 |
 |
|||||||||||||||
3. Data Entry Guide3.1. General Information on Data Entry3.1.1. Settings for Data EntryAfter the option "Data Entry" was chosen in the "Main" menu (compare figure 2.3-4), the screen "Settings for Data Entry" (compare figure 3.1-1) is displayed:
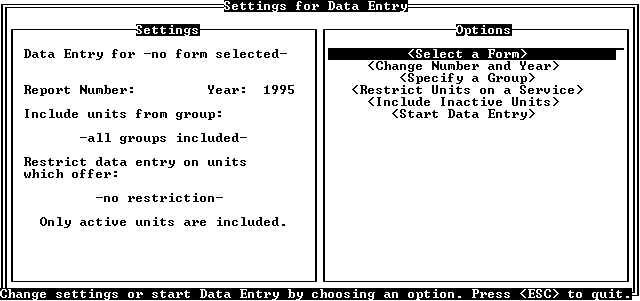
Fig. 3.1-1: The screen "Settings for Data Entry" is used to define the settings of a data entry session. In this screen you can define the settings for your data entry session: you can select the form for which you want to enter a report, you can specify the reporting period and you can restrict the selection of health units for which you want to enter data. The screen contains two boxes. On the right hand side you can find the "Settings" box with the settings that were already defined. On the left hand side you find the "Options" box with a list of options for modifying the settings. One of the options is highlighted. In figure 3.1-1 the option "Select a Form" is highlighted. The highlighted option is the one to take place when you press the <Enter> key. E.g. if you press the <Enter> key while the option "Select a Form" is highlighted, you will be able to select a data entry form. You can highlight other options by pressing the up / down arrow keys on the keyboard. You can choose from the following options:
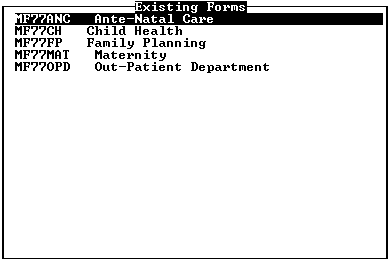
Fig. 3.1-2: The list of existing data entry forms. One of the data entry forms is highlighted. In figure 3.1-2 this is "MF77ANC", which is used for entering data on ante-natal care services. This data entry form will be chosen when you press the <Enter> key. You can highlight another data entry form by pressing the up / down arrow keys. Your choice will be displayed in the "Settings" box as shown in figure 3.1-3. In the "Options" box, the option "Change Number and Year" is highlighted now.
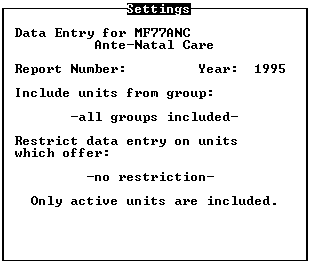
Fig. 3.1-3: The "Settings" box after selection of the data entry form "MF77ANC", which is used for entering data on ante-natal care services.
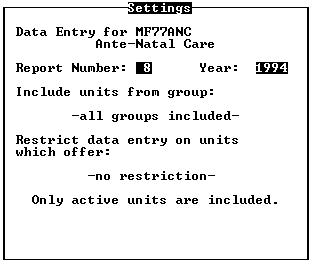
Fig. 3.1-4: The "Settings" box after the report number and year have been entered.
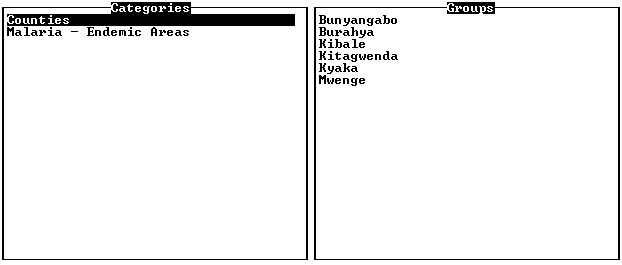
Pressing the <Enter> key when the option "Specify a Group" is highlighted gives you two boxes on the screen (compare figure 3.1-5): one box is named "Categories", the other is named "Groups". Each group belongs to a category. When a category is highlighted in the "Categories" box, you can see the groups that belong to that category listed in the "Groups" box. In the example used in figure 3.1-5 you will find the groups "Bunyangabo", "Burahya", "Kibale", "Kitagwenda", "Kyaka" and "Mwenge" in the "Groups" box. All these belong to the category "Counties" which is highlighted in the "Categories" box. Note that on your computer you might find different categories and groups. This depends on the installation of the staff member, who is responsible for organizing the statistics office.
Fig. 3.1-5: The "Categories" and "Groups" boxes - the groups which belong to the category "Counties" are listed. As you press the up / down arrow keys, you will highlight another category. At the same time, the "Groups" box will be updated. If, in the above example, you press the down arrow key, the category "Malaria - Endemic Areas" will be highlighted, and the "Groups" box will contain the groups "Hyperendemic Malaria Area", "Hypoendemic Malaria Area" and "Mesoendemic Malaria Area". As you press the <Enter> or the right arrow key, the highlighted bar moves to the first group in the "Groups" box. In the "Groups" box, you can also highlight another group by pressing the up / down arrow keys. Pressing the <Esc> key or the left arrow key returns the highlighted bar back to the "Categories" box without selecting a group. Pressing the <Enter> key selects the highlighted group for data entry. After this, "Kabarole!" returns to the screen "Settings for Data Entry" (compare figure 3.1-1) where the selected group has been entered into the "Settings" box as shown in figure 3.1-6 and where the option "Restrict Units on a Service" is highlighted now.
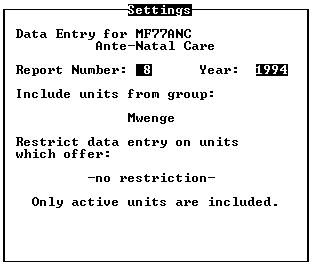
Fig. 3.1-6: The "Settings" box after the county "Mwenge" has been chosen as group of health units, for which data shall be entered.
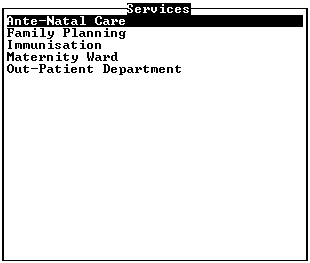
Fig. 3.1-7: The list of services to which data entry can be limited. In figure 3.1-7 the service "Ante-Natal Care" is highlighted. When pressing the <Enter> key, data entry will be restricted to those units, which provide ante-natal care. By pressing the up / down arrow keys another service can be highlighted. Pressing the <Esc> key will leave the list of services without restricting data entry to a service. Figure 3.1-8 depicts the "Settings" box, after a service was selected. In the "Options" box, the option "Include Inactive Units" is highlighted.
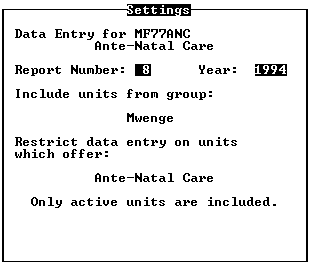
Fig. 3.1-8: The "Settings" box after the service "Ante-Natal Care" was selected.
Fig. 3.1-9: This message will appear on the screen, when "Kabarole!" cannot find the data file for the demanded period, although it should exist already. This message is most likely to appear, when you enter data of a period, which has been archivated already. More detailed information on archivated data is given in chapter 6.2.2. "Archivating Old Data Files". Ask the staff member, who is responsible for organizing the statistics office, where you can find the disk with the archivated data file for this period. If the floppy disk is still available, you can choose the option "Work with Floppy" by pressing the left / right arrow keys. Press <Enter> when the option is highlighted. You will receive a message similar to the one in figure 3.1-10:
Fig. 3.1-10: This message will appear on the screen, after the option "Work with Floppy" was chosen in the message from figure 3.1-9. Now insert the floppy disk into the disk drive and specify the letter of that drive. You can highlight either "Drive A:" or "Drive B:" by pressing the right / left arrow keys. Press <Enter> when the required drive is selected. "Kabarole!" will now use the data from floppy disk. Be aware, that working with the floppy disk is a little slower than the normal way. If the demanded data file is lost, choose the option "Create New File" in the message from figure 3.1-9. If you do this, you will not be able to use the data from your original data file again. To create a new file means to start the reporting period afresh. Therefore you should only use this option, when you are very sure, that the file is lost. You will be warned of this with the message from figure 3.1-11:
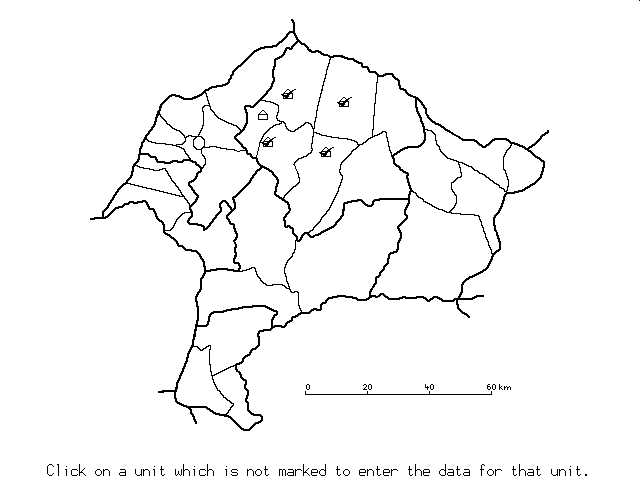
Fig. 3.1-11: This message will appear on the screen, after the option "Create New File" was chosen in the message from figure 3.1-9. You can select the option "Create New File" by pressing the right / left arrow key and <Enter> when the option is highlighted. After selecting, "Kabarole!" will continue with the district map for data entry (compare section 3.1.2 "The District Map for Data Entry"), as if no reports have been entered for the specified period yet. 3.1.2. The District Map for Data EntryAfter choosing the option "Start Data Entry" in the screen "Settings for Data Entry" (compare figure 3.1-1), the district map for data entry appears on the screen. From this map you can select the health unit, for which you want to enter a report. Of course this map looks different in other districts. Also there might be variations within one district, depending on the settings for data entry and on how the system setup was done. In figure 3.1-12 the district map is shown as it appears with the settings for data entry from figure 3.1-8:
Fig. 3.1-12: The district map for data entry with the settings for data entry according to figure 3.1-8. Each health unit appears as a little house. The units for which a report was entered already are checked with a mark. When the pointer points at a health unit, the name of the health unit appears in the message line at the bottom of the screen. Clicking the mouse button opens the data entry form (compare section 3.1.3. "The Data Entry Form"). The pointer has to be positioned correctly with the tip inside the little house as shown in figure 3.1-13:
Fig. 3.1-13: The pointer points at the checked health unit Kyarusozi. Since there were restrictions on services and groups (compare section 3.1.1. "Settings for Data Entry"), only selected health units are displayed on the screen. The displayed units belong to the group "Mwenge" from the category "Counties" and provide the service "Ante - Natal Care". Maybe you are missing a specific unit on the district map, although it provides the selected service. In that case you should consult the staff member, who is responsible for organizing the statistics office. Reasons for a missing health unit could be:
You can leave the screen with the district map by pressing the <Esc> key. This brings you back to the screen with the settings for data entry (compare figure 3.1-1). 3.1.3. The Data Entry FormAfter you have chosen a health unit from the district map for data entry (compare figure 3.1-12), the data entry form is loaded by "Kabarole!". The screen will look similar to the one displayed in figure 3.1-14:
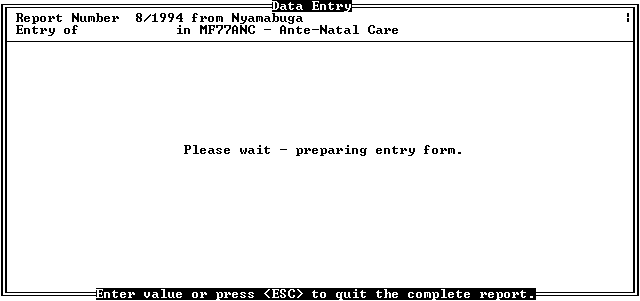
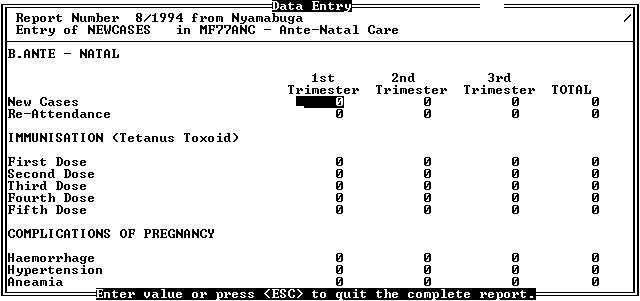
Fig. 3.1-14: The screen for data entry while "Kabarole!" is loading the data entry form "MF77ANC - Ante-Natal Care". The health unit Nyamabuga was chosen to enter report 8/1994. The screen is divided into two boxes: The status box at the top of the screen displays information on the current data entry session. You can see that the health unit Nyamabuga was chosen for data entry. Also you can see the name of the data entry form which is being loaded, "MF77ANC - Ante-Natal Care", and the reporting period, for which the report will be entered. The little spinning bar in the top right corner indicates, that "Kabarole!" is still busy loading. The major area on the data entry screen is reserved for the data entry form. Figure 3.1-16 shows the screen after the data entry form has been loaded successfully. The area for the data entry form is filled with data entry fields now. All the entry fields are filled with zeros. That is because no report number 8/1994 has been entered for Nyamabuga, yet. If a health unit was selected for which a report had been entered already, the entry fields would contain the old values.
Fig. 3.1-15: The screen for data entry after the data entry form has been loaded successfully. The current data entry field is "NEWCASES", in which the number of new cases attending in the first trimester is entered. For each value which can be written into a paper report form, there is one entry field in the data entry form. The current entry field contains the cursor (blinking bar at the bottom of an entry field). You can enter data only into the current entry field. You can move from one entry field to the next by pressing the up arrow, the <Tab> or the <Enter> keys. Pressing the down arrow key moves the cursor to the previous entry field. Only a limited number of entry fields can be displayed at the same time. Therefore, when you reach the last entry field on the screen, the screen will scroll up one line and uncover the next line of the entry form. Each data entry field has a unique name. The name of the current data entry field appears in the second line of the status box. This gives you a hint where you can find the cursor in case you get confused. You can quit data entry by pressing the <Esc> key. You can also quit by pressing the <Enter> key while you are in the last entry field of the data entry form. Before "Kabarole!" terminates data entry, it will ask you whether to save the changes. For this reason, the message shown in figure 3.1-16 appears on the screen:
Fig. 3.1-16: Before terminating data entry, "Kabarole!" asks, whether to save the changes. You can use the left / right arrow keys to highlight "Yes" or "No" and press the <Enter> key to accept the highlighted option. After this, "Kabarole!" returns to the district map for data entry (compare figure 3.1-12). When you leave the data entry form of a newly entered report with saving, the health unit will be checked on the district map. When you don't save a newly entered report, the unit will not be marked and the entered data will be lost. 3.2. Specific Data Entry Tasks3.2.1.
|
||||||||||||||||||
 |
 |
 |
 |
|||||||||||||||
